In this section we going to explain in detail how to create a ticket and also how to tracking them. First click on Support in the left side bar and the next screen will be displayed:
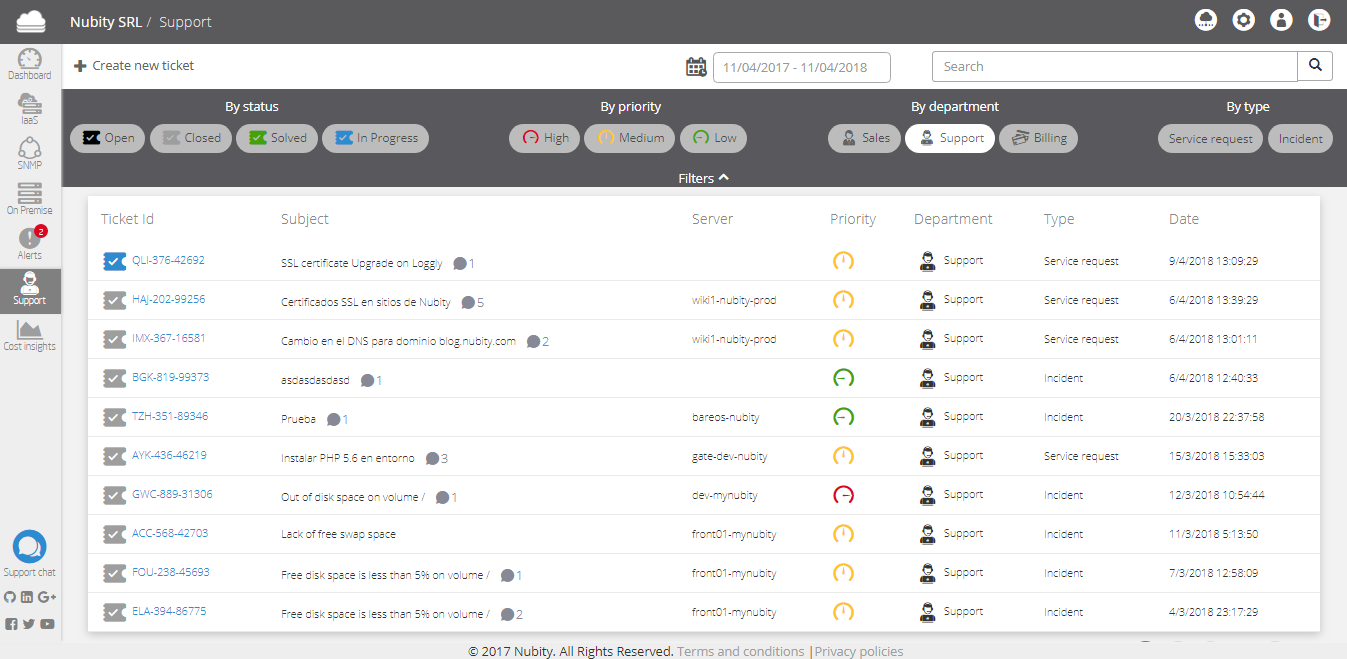
Here you will find a list with the tickets previously generated. In each ticket you will find the next data:
- Ticket ID:Ticket identifier.
- Subject: Ticket title.
- Resource: Server involved.
- Priority: High, medium or low.
- Department: Support, sales or billing.
- Type: Incident, service request or info request.
- Date: Creation date.
At the top bar you will find a filters bar to search any type of ticket by the following categories:
- By Status: Open, Closed, Resolved or In Progress.
- By Priority: High, Medium or Low.
- By department: Sales, Support or Billing.
- By Type: Service Request or Incident.
Click on the option that you want to filter, then you will see a list with selected tickets. Click in the option again to cancel this process.
To create a new ticket click on Create New Ticket, then the next screen will be displayed:

To continue this process complete the next Data:
- Type: Incident, service request or info request
- Departament: Support, sales or billing.
- Priority: High, medium or low.
- Server: Server involved.
- Subject: Ticket subject.
- Users to copy: Nubity users that you want to notify about the ticket.
- Emails to copy: If you want to notify one person who is not subscribed to Nubity put his email here.
- Message: Incident or request description.
You also can attach different types of documents in the ticket. Click on the icon next to Send button, then choose a document of your PC.
After complete this information click on Send. Then our Support team will be notified and we going to process your request.