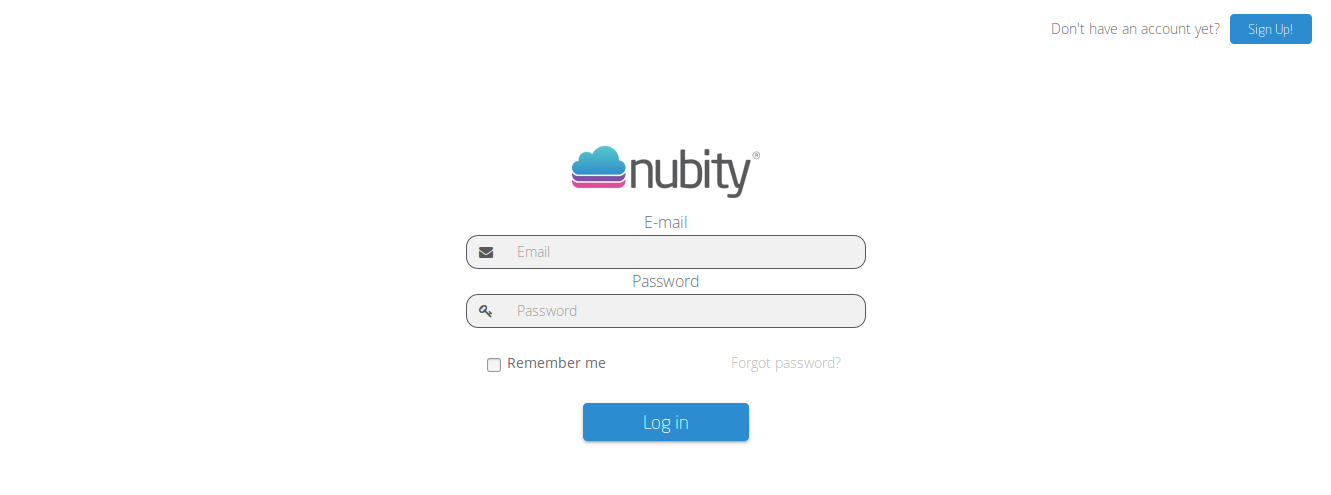
When you have a verified account wich was previously activated. The next step is to create an user to acces MyNubity. The e-mail and password generated in the Sign up process will be necessary.
When you acces for the first time, the screen “Add New Integration” will be displayed:
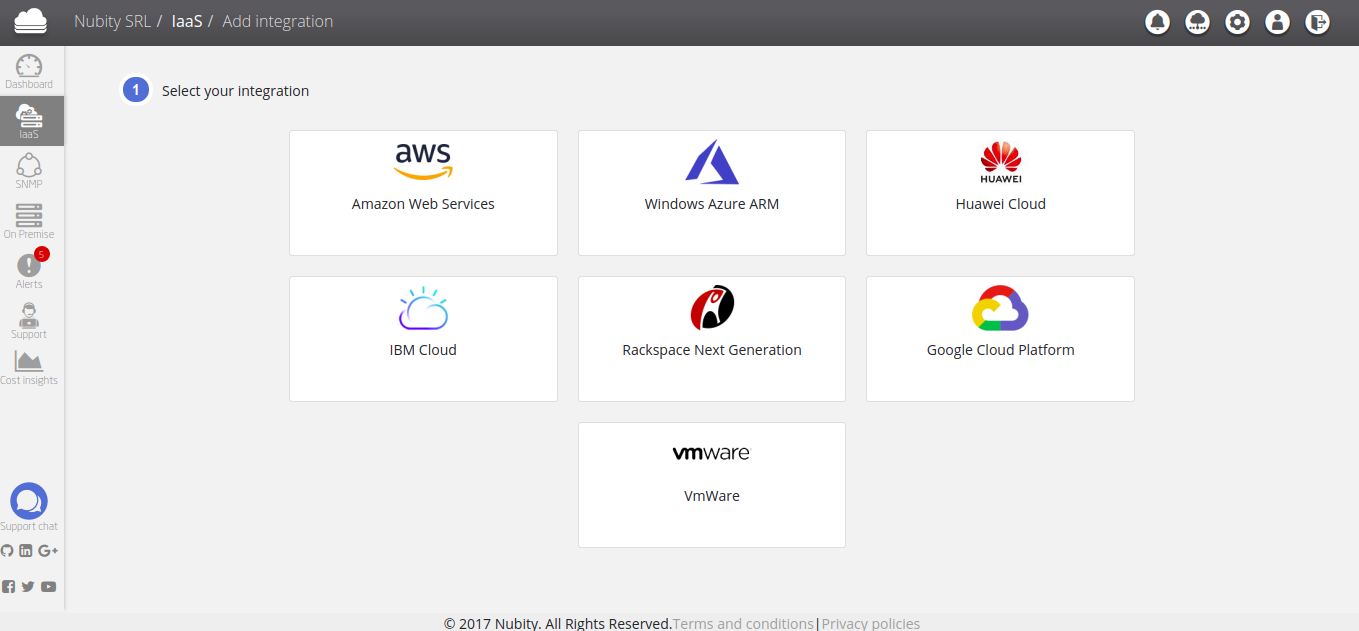
Here, you’ll find all the available Cloud Services that can be natively integrated since MyNubity. You can go to Integrations for extra details.
It is necessary to integrate at least one Cloud Service to initialize the Nubity Agent. Then the Agent will start to bring the Data and show it in the Dashboard.
SIDEBAR.
In the left sidebar, the following sections will be displayed:
- Dashboard: Here you will find a detail of the last five Alerts and different graphics of the monitored servers which can be configured since MyNubity adding new Dashboards to the Main Dashboard. This allows the user to get an overview of their infrastructure.
- IaaS: (Infraestructure as a Service) It is a section that contains a list with the integrated instances registered in the different Cloud Services. Since this section you can also access to “Add New Integration” and add a new service from any of the providers indicated in the last picture.
- SNMP: (Simple Network Management Protocol) This section lists the integrated network devices: routers, switches, printers, network-monitored servers and others. From this section you can also add new network devices.
- On Premise: Here are the servers that were added in a non-native way, these can be physical or virtual and even from a different Cloud Service Provider than those indicated in the section IaaS.
- Alerts: Here is the history of Alerts, current ones and those that have been solved.
- Support: In this section you can check and manage the generated tickets.
- Cost Insight: Since this Dashboard you can verify the consumption of computer services from providers such as AWS.
TOP BAR.
Finally in the Top bar you’ll find the following accesses:
 Sent Notification: A list of the notification emails sent to all the users in the company
 Integrations: A list of the integrations configured in the current user account.
 Account: Here you’ll find all the information of the company and the users.
 User profile: Where the current user Data is.
 Log Out: The exit button of the platform.